
Do you have a solid gaming PC, but some games still stutter or just don't feel as smooth as they should? Don't worry—it might not necessarily be due to outdated hardware. Often, it's small settings and system options that slow down your gaming performance without you even noticing.
In this article, we'll show you 7 simple yet effective tips to help you get more FPS and smoother gameplay – all without new hardware. Whether it's Windows features, driver settings, or BIOS options: With these adjustments, your system will run noticeably smoother. Let's get started!
1. Enable XMP in the BIOS
Many PCs only use RAM at its base clock speed. XMP (Extreme Memory Profile) enables the manufacturer's specified clock speed, significantly increasing memory bandwidth. This can result in a performance boost, especially in CPU-limited games.
Here's how:
-
➤ Restart PC and go to BIOS/UEFI (usually with Del - FYARE PC or F2 )
-
➤ Activate “XMP” for FYARE products or “DOCP” (depending on the motherboard manufacturer)
-
➤ Save changes and restart
2. Enable Windows Game Mode
Windows Game Mode prioritizes running games and reduces background activity. This can result in more stable performance and less background traffic.
Here's how:
-
➤ Open Windows Settings ( Win + I )
-
➤ Select the menu item “Gaming” → “Game Mode”
-
➤ Activate game mode
3. Disable Xbox Game Bar and background recording
The Game Bar and automatic recording consume system resources in the background. If you're not actively using these features, you should disable them.
Here's how:
-
➤ Windows Settings → “Gaming” → “Xbox Game Bar”
-
➤ Disable Game Bar
-
➤ Continue to “Recordings”
-
➤ Disable background recording
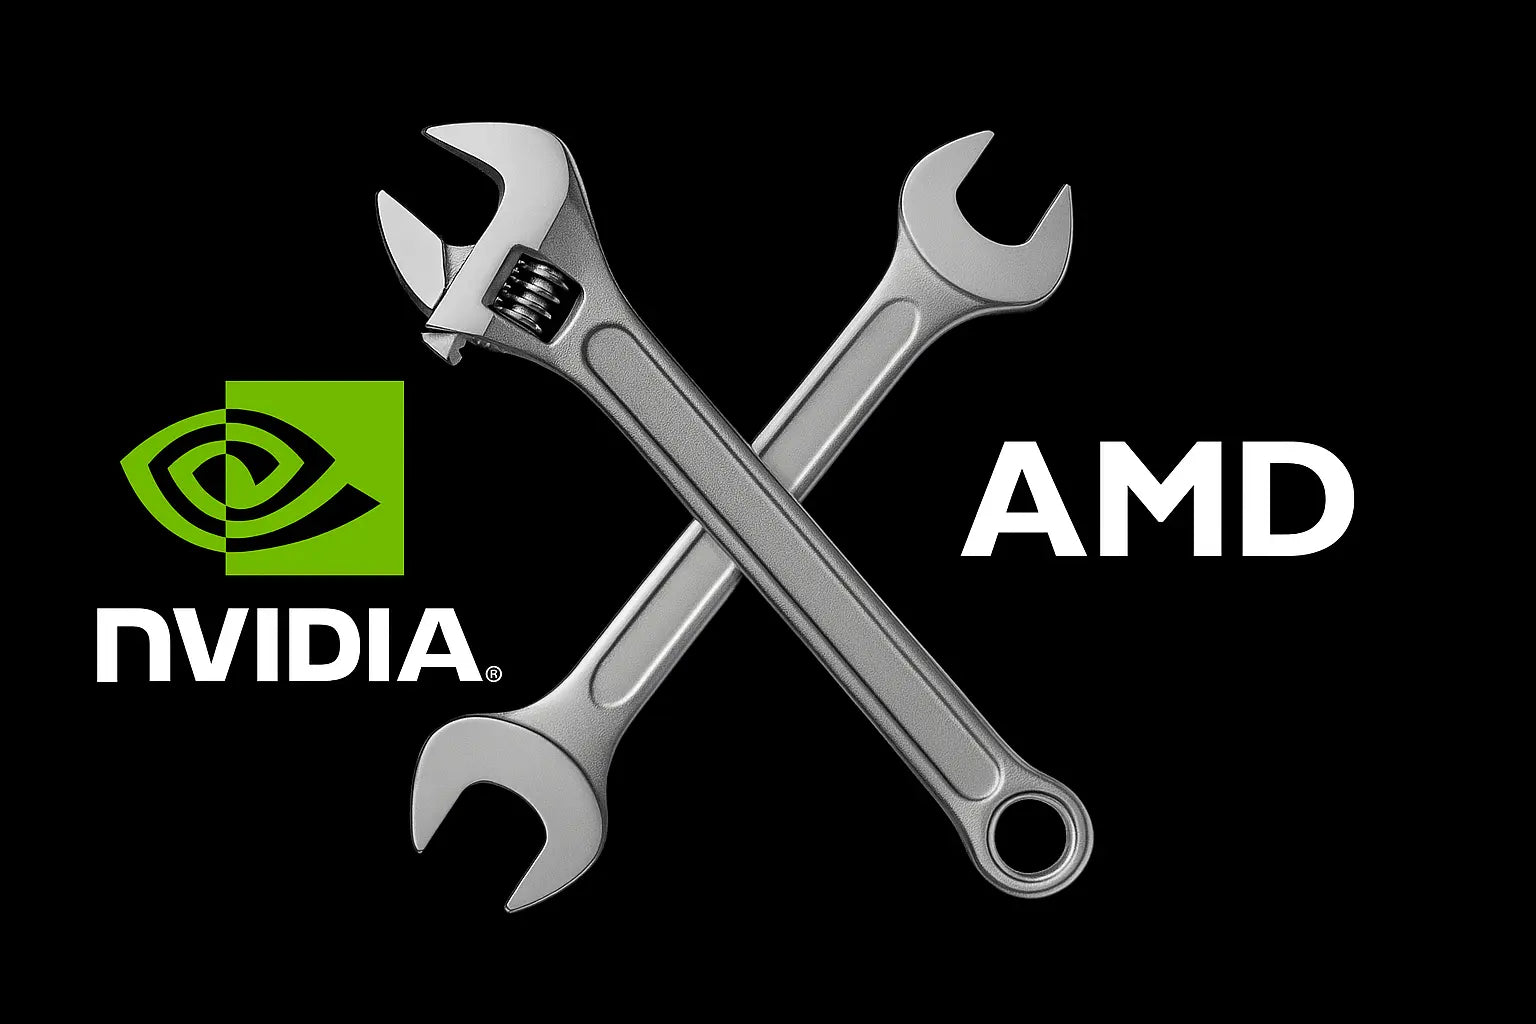
4. NVIDIA GeForce Experience: Update drivers
Current graphics card drivers often contain optimizations for new games, improve stability, and can provide FPS increases.
Here's how:
-
➤ Open GeForce Experience
-
➤ Switch to the “Driver” tab
-
➤ Click on “Check for updates”
-
➤ Download and install new driver
5. Set the monitor refresh rate correctly
A 120Hz or 144Hz monitor only takes full advantage of its features if the corresponding refresh rate is also set in Windows. By default, only 60Hz is active.
Here's how:
-
➤ Right-click on the desktop → “Display settings”
-
➤ Scroll down to “Advanced display settings”
-
➤ Select monitor (if multiple)
-
➤ Under “Refresh rate”, select the highest available number (e.g. 144Hz)
6. Enable G-Sync or FreeSync
G-Sync (NVIDIA) or FreeSync (AMD) synchronize the GPU's frame rate with that of the monitor. This ensures a smoother image without tearing—ideally without V-Sync.
Here's how (NVIDIA):
-
➤ Right-click on Desktop → NVIDIA Control Panel
-
➤ On the left in the menu: “Set up G-Sync”
-
➤ Activate G-Sync and apply it to the desired monitor
Here's how (AMD):
-
➤ Open Radeon Software
-
➤ Switch to the “Display” tab
-
➤ Enable FreeSync
7. Disable V-Sync in games
V-Sync prevents screen tearing, but can limit frame rates and cause input lag. With G-Sync or FreeSync enabled, it's often no longer needed.
Here's how:
-
➤ Start game
-
➤ Switch to the graphics or display settings
-
➤ Disable V-Sync (often called “vertical synchronization”)
Conclusion:
With these simple software optimizations, you can often get 10–30% more performance out of your system – without upgrading a single component. Especially in competitive games , every millisecond and every FPS counts!
Share:
Graphics card driver reinstallation
Office download & installation